Running a Script
There are many ways to run a script:
From the Scripts menu.
At the command line.
Auto-run scripts launched when iTerm2 starts.
With an interactive interpreter called a REPL.
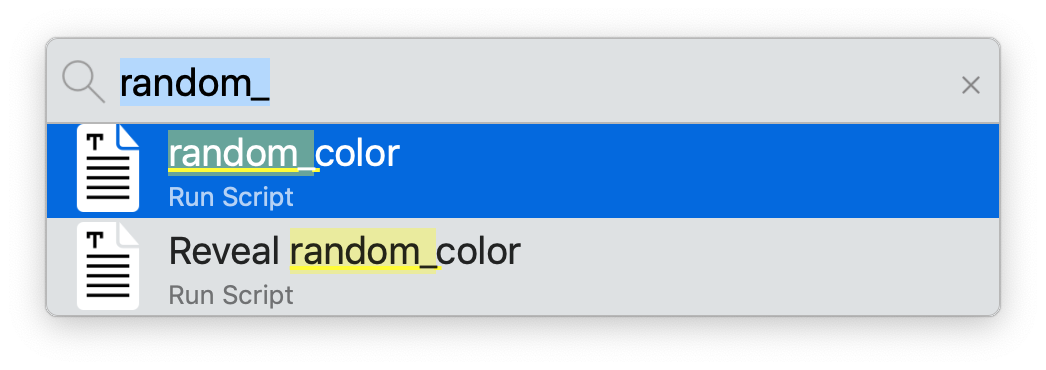
From the Open Quickly window.
Command Line
Your machine probably has many instances of Python installed in different places. Each installation of Python may have different modules installed. Python determines the path to its modules by examining the location of the python3 executable. For this reason, it’s important to use the right python3 so that your script’s dependencies (such as the iterm2 module) can be satisfied.
The standard iTerm2 Python installation is at ~/Library/ApplicationSupport/iTerm2/iterm2env/versions/*/bin/python3. This is the so-called “Basic” environment.
If you create a script with the “Full Environment” its instance of Python will be in ~/Library/ApplicationSupport/iTerm2/Scripts/YourScript/iterm2env/versions/*/bin/python3.
Internally, iTerm2 runs a basic script by invoking:
~/Library/ApplicationSupport/iTerm2/iterm2env/versions/*/bin/python3 YourScript.py
Scripts are stored in $HOME/Library/ApplicationSupport/iTerm2/Scripts.
Make sure you don’t have a PYTHONPATH environment variable set when you run your script.
If you prefer to use Python as installed by Homebrew, you can install modules yourself using the Homebrew-installed pip3, which should be in your path. At a minimum, install the iterm2 module.
Note
iTerm2 creates the ApplicationSupport symlink to Application Support because shell scripts may not have spaces in their paths and the pip utiltiy does not work correctly in directories with spaces.
If you’d like your script to launch iTerm2, you’ll need to use pyobjc. To install it:
pip3 install pyobjc
Then put this in your script:
import AppKit
bundle = "com.googlecode.iterm2"
if not AppKit.NSRunningApplication.runningApplicationsWithBundleIdentifier_(bundle):
    AppKit.NSWorkspace.sharedWorkspace().launchApplication_("iTerm")
Note that the iterm2 module includes pyobjc (which vends AppKit) as a dependency, so you don’t need to install it separately.
The iterm2.run_forever or iterm2.run_until_complete call will block until it is able to make a connection, so you don’t need to add any logic that waits for the launch to complete. Just try to connect right away.
When you run a script from the command line on iTerm2 version 3.3.9 or later you will be prompted for permission. This is a security measure to ensure that scripts not launched by iTerm2 are not being run without your knowledge. The purpose is to prevent untrusted code, such as Javascript that’s able to escape a web browser’s sandbox, from silently gaining access to your terminal.
To circumvent the dialog, use the it2run script provided in iTerm.app/Resources/it2run to launch it. The it2run script uses osascript to ask iTerm2 to launch your Python script. macOS will ask for a one-time grant of permission for osascript to control iTerm2.
You may also pass command line arguments to it2run that get forwarded to the script. For example:
`
/Applications/iTerm.app/Contents/Resources/it2run myscript.py firstarg secondarg thirdarg
`
Auto-Run Scripts
If you’d like your script to launch automatically when iTerm2 starts, move it to $HOME/Library/ApplicationSupport/iTerm2/Scripts/AutoLaunch.
REPL
iTerm2 also offers a REPL: a Read-eval-print loop. This is an interactive Python interpreter where you can experiment with the scripting API. You can enter commands and immediately see their results. It’s available from the menu item Scripts > Open Python REPL. It will open a window with an interactive Python interpreter.
The REPL uses the apython script provided by aioconsole which extends Python so that you can use await without having to put it inside an async function. In other words, you don’t need to write iterm2.run_until_complete(main) to launch a main function when in the REPL. Instead, a typical REPL session would begin with:
import iterm2
connection=await iterm2.Connection.async_create()
app=await iterm2.async_get_app(connection)
When the REPL starts it prints a sample script so that you don’t need to remember this. You can just copy-paste it into the interpreter. Once you’ve got an app the rest is easy :).
Open Quickly
Enter the name of your script in the Open Quickly window to launch it.

Continue to the next section, Daemons.
Other Sections
- Python API
Running a Script
